Streamlining Financial Operations: The Power of Automation for Decision Makers
In today’s dynamic business environment, financial leaders are constantly seeking ways to enhance efficiency and drive strategic initiatives. One powerful solution that can significantly impact financial operations is Microsoft Power Automate. In this article, we’ll explore how Power Automate can streamline finance and accounting processes, enabling decision-makers to make informed choices that benefit the bottom line.
Understanding Power Automate
Microsoft Power Automate is a cloud-based service designed to simplify and automate workflows across various applications and services. It offers a powerful automation process that allowing organizations to streamline business processes without the need for repetitive tasks. Power Automate empowers decision-makers to optimize financial workflows, saving time and improving overall operational efficiency.

Automating Repetitive Tasks
- Invoice Processing Managing invoices can be a time-consuming task. Power Automate streamlines this process by automating the flow of information from incoming invoices to updating accounting systems. This reduces manual data entry and minimizes the risk of errors, ensuring a smoother and more efficient workflow.
- Expense Reporting Expense reports often involve tedious data entry and categorization. With Power Automate, organizations can automate the extraction of data from receipts, simplifying the expense reporting process. This not only saves time but also enhances accuracy in tracking and managing expenses.
- Bank Reconciliation The reconciliation of bank statements and accounting records is a critical but often labor-intensive task. Power Automate can automate the matching of transactions, identifying errors and discrepancies swiftly. This accelerates the reconciliation process, leading to more accurate financial records.
- Notifications and Approvals Collaboration within finance teams is essential. Power Automate facilitates this by automating notifications for pending approvals. Decision-makers can ensure that tasks move through the approval chain efficiently, reducing delays in critical financial processes.
Implementing Power Automate
To harness the benefits of Power Automate:
- Identify Repetitive Tasks: Pinpoint tasks that are repetitive and time-consuming in your financial processes.
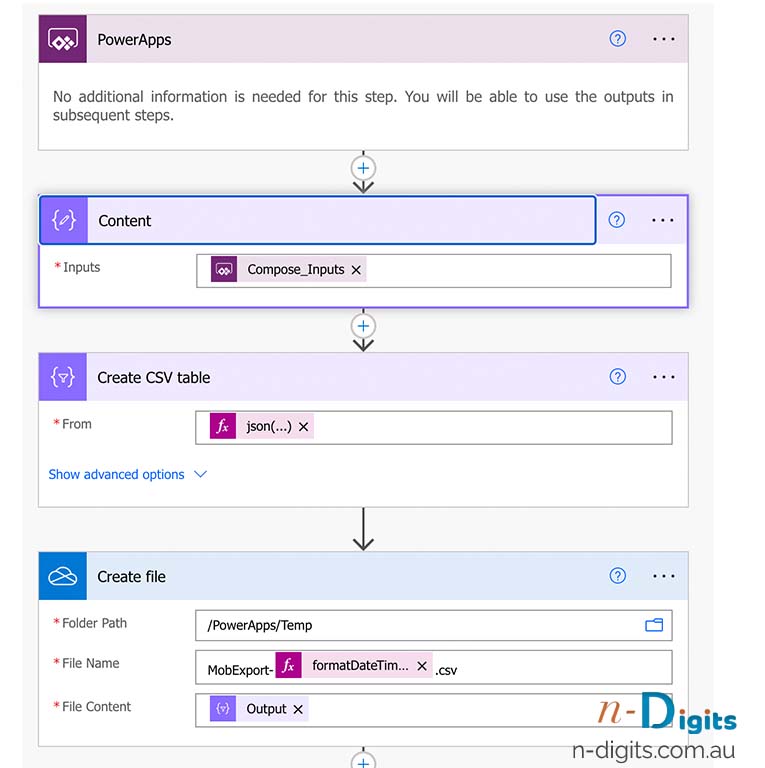
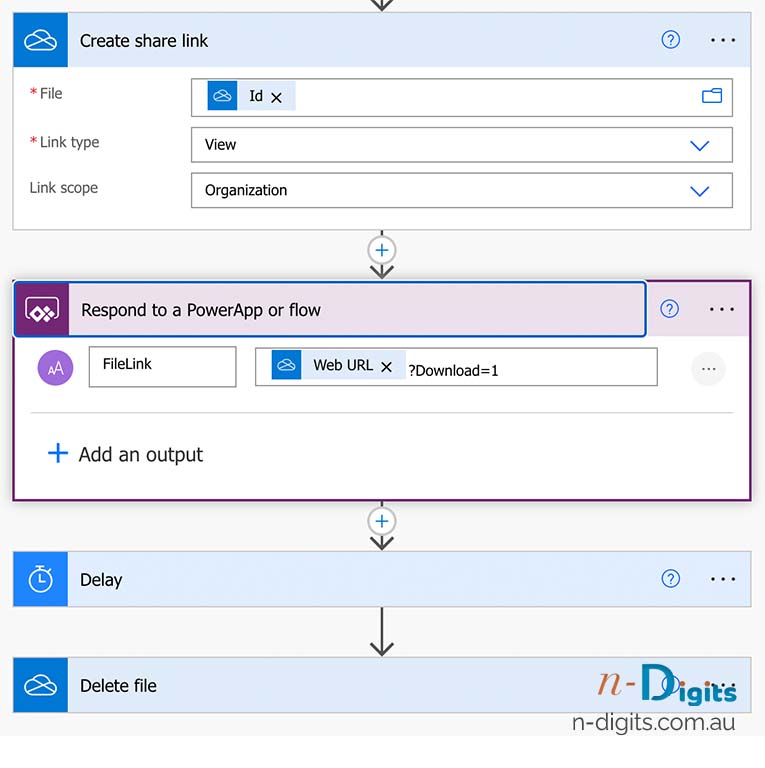
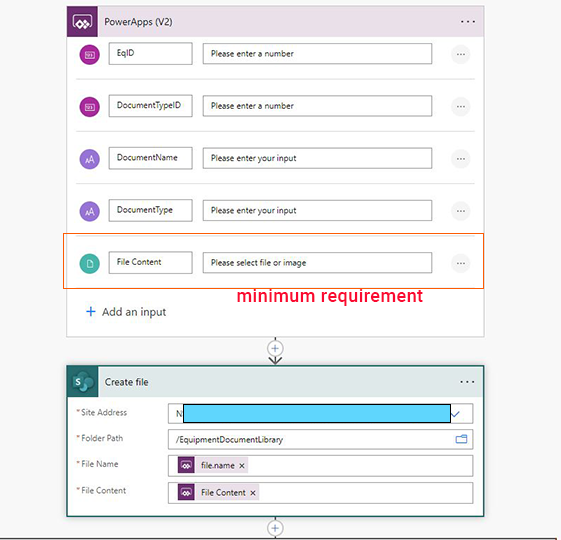
- Choose Trigger and Actions: Select triggers that initiate the workflow and define subsequent actions. Customize the workflow to meet your organization’s specific needs.
- Connect Applications: Power Automate supports a wide range of applications. Connect relevant applications to ensure a seamless flow of data.
- Configure Workflow: Customize the workflow to align with your organization’s unique requirements. This may involve setting conditions, creating loops, or incorporating approval steps.
- Test and Iterate: Thoroughly test the automated workflow before deployment. Iterate and make adjustments as needed.
- Monitor and Optimize: Regularly monitor the performance of automated workflows and gather feedback. Optimize processes to adapt to changing business needs.
Benefits of Power Automate in Finance
- Time Savings: Automation allows finance teams to save time on repetitive tasks, enabling them to focus on strategic initiatives.
- Reduced Errors: Automation minimizes the risk of human errors associated with manual data entry, leading to more accurate financial records.
- Improved Collaboration: Automated workflows facilitate smoother collaboration, ensuring tasks move seamlessly through various stages of approval and processing.
- Scalability: Automated processes can easily scale to accommodate increased transaction volumes and evolving business requirements.
Conclusion
Embracing Microsoft Power Automate empowers decision-makers to optimize financial operations, fostering efficiency and accuracy. By automating repetitive tasks, organizations can free up valuable time, reduce errors, and enhance collaboration within finance teams. As a decision-maker, consider the impact that Power Automate can have on your organization’s bottom line, driving productivity and supporting strategic financial goals in an ever-evolving business landscape.
Looking for a consultant or Developer?
Contact us today to get an expert advice on how the Automation process can increase efficiency in your business. email: [email protected]

![[Solved] How to download csv from Power Apps gallery?](https://n-digits.com.au/wp-content/uploads/2023/01/powerApps-how-to-export-to-csv-1024x675.jpg)


![[Solved] How to upload files to SharePoint Library from PowerApps?](https://n-digits.com.au/wp-content/uploads/2022/09/upload-image-to-sharepoint-library-1080x675.jpg)

